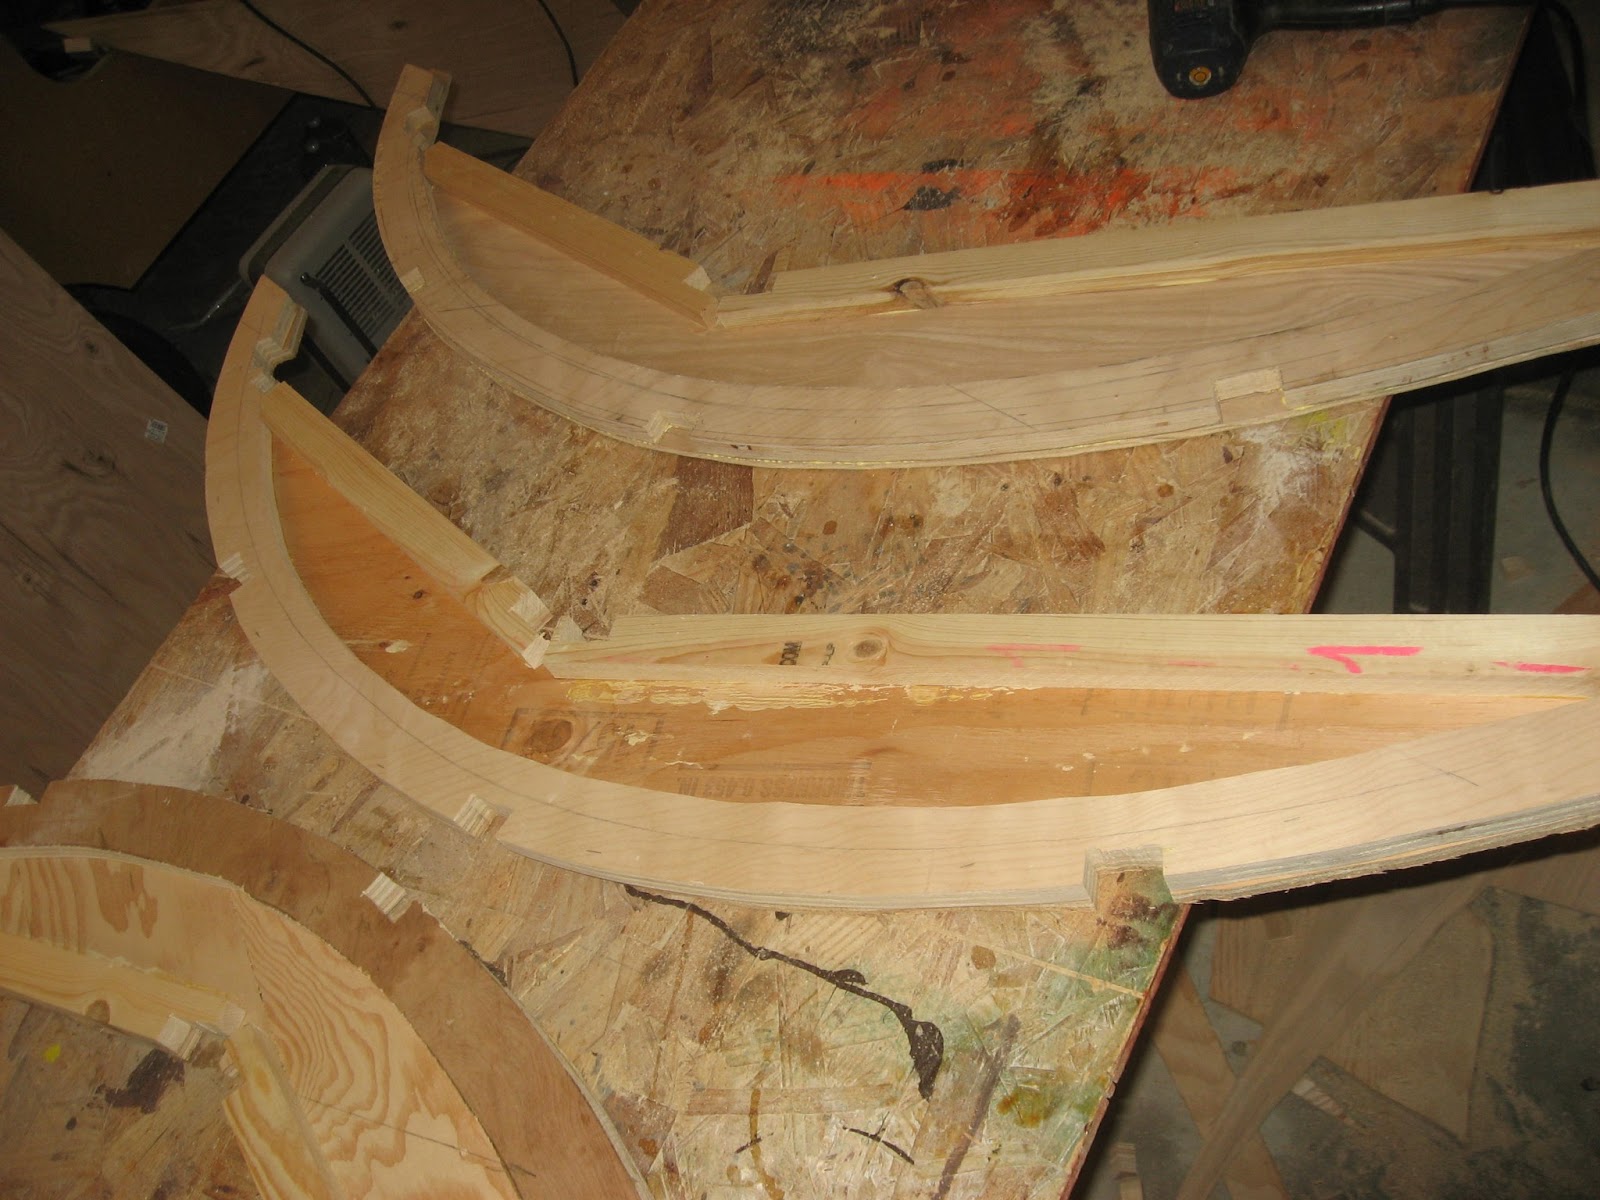
The upper left picture shows the hatch frame fully assembled. The upper right picture shows the 1/4 inch plywood outer skin being fastened to the frame. I first clamped the frame in place and used cardboard wedges along the sides between the frame and the outer walls to make sure I had 1/8 inch spacing on both sides. The best advice I saw for building a hatch that fits is to build it in place. Even the sturdy fame that you see here has some flexibility and if I allow even 1/8 inch of twist in the frame while the plywood is being attached the hatch will not fit properly. Clamping and wedging the frame in place while I fasten the plywood will lock it into the exact shape. First I attached the very bottom of the plywood to the frame with heavy duty liquid nails and screws along the bottom spaced every three inches. Once this was done I tied a rope from the frame underneath and passed it over the top of the trailer then tied it off to the front of the trailer frame so that I could tighten the rope and bend the plywood into shape. I then applied a liberal amount of heavy duty liquid nails to the frame where the plywood will come in contact and gradually fastened it in place with successive rows of screws about 6 inches between each row working from the bottom to the top.

The pictures above show the first piece of plywood after it has been completely fastened in place. The picture on the right is a closeup. I used grabber screws with washers. After the glue dries I will remove the screws and washers and fill the holes. I used 1/4 inch exterior plywood. I was surprised that I was able to bend the plywood around this curve without any cracking. The most difficult part of building the hatch has been making sure the gap for the seal is uniform. I cut the ribs of the hatch slightly oversize that then sanded them down with the orbital sander to leave a 1/4 inch gap for the seal.The plywood was cut with about one inch of overhang on each side. It will be cut to exactly fit at a later time.


